
Sure, you know how to search for a place or address in Maps, and you probably even know that you can ask Siri to “Take me home.” But sometimes you want to go somewhere that doesn’t have an address, or where the address you can find doesn’t match the precise location you need. For instance, a festival or fun run taking place at a large park may be far from the address of the park office, or even require that you enter on a different side of the park.
Luckily, the Maps app in iOS has you covered, with a feature that lets you mark any location and then get directions to that spot. It’s easy to use and provides several enhancements, but like many things in iOS, you might not run across it in normal usage.
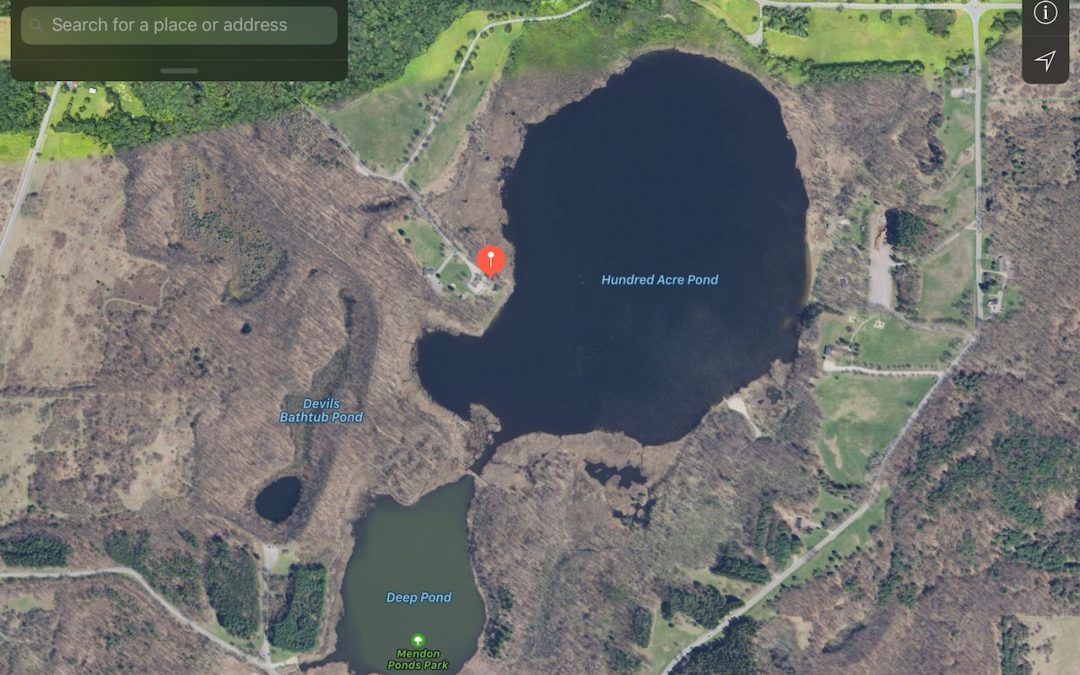
First, marking locations is usually easier in the satellite view in Maps. If you’re in the standard Map view that shows just streets, tap the i button in the upper-right corner, and then tap Satellite so you can see the terrain and any buildings.

Next, position the map over the general area you want to navigate to, and then pinch to zoom in. Drag the map with a single finger as necessary to see the place you want to mark, perhaps a parking area or trailhead.
Then, to mark the location, press and hold on the exact spot. A pin appears on the map at the marked location. On the iPad, a panel appears on the left side of the screen with controls and more information, such as distance from your location, approximate address, and latitude and longitude. On the iPhone, the top of an identical panel appears at the bottom of the screen; drag it up to reveal the rest of its contents.

In that panel, you can:
- Get directions: Tap Directions to start navigating to the marked location. The button defaults to telling you how long the drive will be, but once you tap Directions, you can switch to directions for walking, transit, or ride-sharing. You can also tap the route summary to see and share a turn list.
- Move the marker: To reposition the marker slightly, tap Edit Location; for a more significant change in location, press and hold on a new spot.
- Share the marker: If you’re trying to explain to others how to get to the marked location, tap the Share icon and then an app like Messages or Mail to send them a link to your location.
- Delete the marker: Tap Remove Marker.
- Favorite the marker: For a marked location that you might want to use repeatedly, tap Add to Favorites and give it a name. After that, you’ll be able to search for the location by name. Maps automatically syncs your favorites via your iCloud account, so you can favorite a location on your iPad and later search for it on your iPhone in Maps or even via Siri.
- Add the marker to a contact: If the marked location goes with a person or business, tap Create a Contact or Add to Existing Content to record it.
- Report a problem to Apple: If you find something missing or wrong with Maps’ data, you can mark a location and then tap Report an Issue at the bottom of the panel.
Maps may be good at finding many places and addresses, but it’s far from perfect, especially in less populated areas. By using marked locations, you can work with areas that can’t be found with a search.
If you use Maps on the Mac, most of these features are available when you click and hold on a location, and then click the i button in the tag that appears. The interface looks a bit different but works in much the same way.
